Spring is Here, and so are the Sprouts of Your Future Garden
April 13, 2022
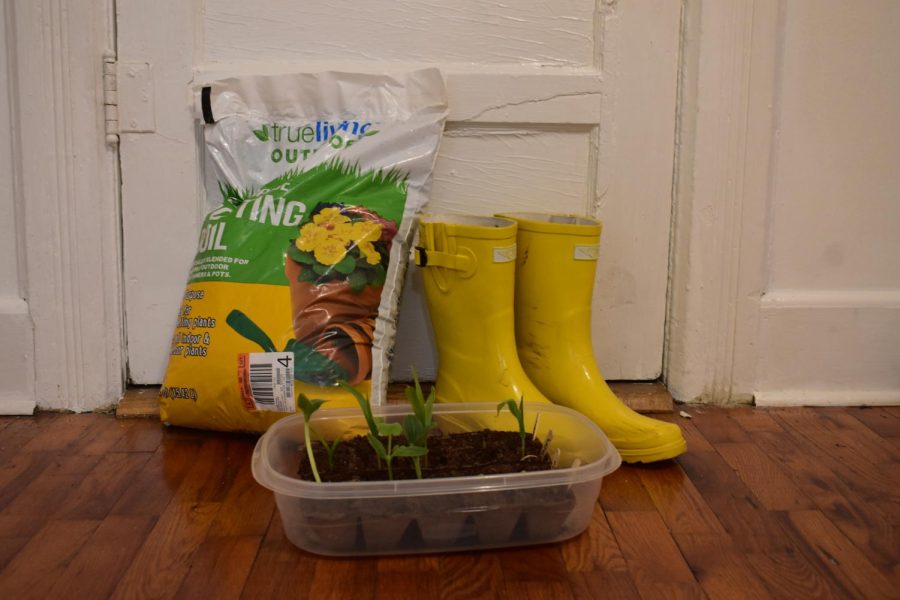
Gardening supplies including dirt, rain boots, and seedlings.
When spring rolls into the town of Fair Grove, a wave of change happens. The farmer’s market sets up at the mill, the green house reopens with flowers for sale, and new life sprouts across the entire town. It’s easy to join this flood of greenery when you know what you’re doing. I’m here to help you do that! This article will be a 101 guide to starting seedlings that can be transplanted into a garden after the final freeze.
The first step is to pick out what things you want to grow. Flowers, vegetables, and everything in between are open game to being raised via seeds! It’s important to know that gardeners tend to share their crops, so take note of what your friends are growing and what they may have excess of before choosing your own plants. If you are growing flowers, check if they draw in insects and what kind. Obviously, if you have a bee allergy, you won’t want flowers that attract local bees.
The second thing I suggest would be to set up a small composting box. This is a good tool for beginners and doesn’t have to match the insane standards of hardcore gardeners. My composting box is a plastic tub with a lid that I keep in the corner of my kitchen, away from where I prepare my meals. I toss in food waste until the tub is full, then I add dirt and blend the contents into my garden! Things that are safe for composting would be cardboard without a shiny coating or tape residue, fruit peels, pulp from juice, paper, and leaves. Some things you should keep out of your composting bin would be stickers that come on fruit, glue residue, glass, chocolate, meat, vinegar, or anything that is heavily salty.
Now we get onto the best step, actually planting! Your seedlings will need a home. My go-to are compostable paper planters that you can get from almost any store in the spring. I get a bundle of 24 from Dollar General, but feel free to look around and choose what you think will work best for your living space. I suggest buying a fresh bag of gardening dirt so your seedlings get all the nutrients they need. Place the dirt in the planters loosely until it reaches the top. If the dirt is dry, then bring a pot of water to a boil and use that to hydrate it. The hot water will awaken the soil better than cold water, and it also ensures that no insects or bacteria are hiding in the dirt.
When planting your seeds, always check the packaging they come with to see what specific instructions you need to follow for each individual seed. Some have a certain depth they need to reach in the soil or need widely different amounts of water. When deciding how many of your planters will belong to each plant, keep in mind that not all your seeds will sprout and some that do might die young or during the transplanting stage. Depending on the plant, I might add another seedling just in case or even DOUBLE the amount I plan to actually plant. Don’t forget to label them! Even after sprouting, most plants look the same.
Once your seeds are planted, press the dirt until it’s compact. This will ensure that its roots won’t be exposed to air and that water can absorb straight into the body of the seed. Water your plants regularly based on the instructions on the seed packet and move your seedlings outside into the sun when possible. During nights, rainy, or cloudy days, you want to keep your seedlings in a sheltered place. I just move mine inside with my indoor plants, but if you have a greenhouse they will thrive out there!
Now is the waiting game. While your seedlings sprout and establish a root system, you will want to prepare the pots or garden bed they’ll be moved too. This is where your compost box will come in handy! Continue to add your compost to your prepared soil as your seedlings grow. By the time you transplant, your soil should be rich with nutrients and weed free, hoping that you have kept an eye on it and have pulled any foreign plants. It’s smart to do this over a long period of time leading up to planting your garden. It’s much easier on your back and hands to pull two or three weeds a day than an entire garden full of long-established weeds in a single afternoon.
When you go to transplant your seedlings into your garden, there are some important things to keep in mind. Always look up the proper planting instructions for each flower and or vegetable you bought. Just like planting seeds, they need certain requirements met to ensure they grow up healthy and strong. Saturate the soil your seedlings are currently in as well as the garden bed they will go to. You will need much more water than you think. Once the plant is placed, pack down the soil around its base firmly and water again until the soil cannot physically hold any more moisture.
Once all of your seedlings have been transplanted, you have created your very own garden! Not only have you cared for the seedlings for a long period of time now, and if you’re like me, given each plant a different name, you have also ensured that your plant wasn’t raised with chemicals or insecticides, unless you wish to do so yourself which is not recommended. In my next article, I will detail what to do when taking care of a garden, so you’ll have something informative to read while waiting for your seedlings to sprout!